
Compliance Overview (Control Tower)
How a compliance manager uses the Compliance grid as a cross-partner control tower: reading the summary, choosing which columns to show (including a column per document requirement and the FSVP track), filtering and grouping by any track, saving a view, and jumping into a partner to act on a gap. Requesting missing documents, corrective actions, and emails have their own dedicated guides.
Who: Compliance Manager
Open the Compliance control tower
Section titled “Open the Compliance control tower”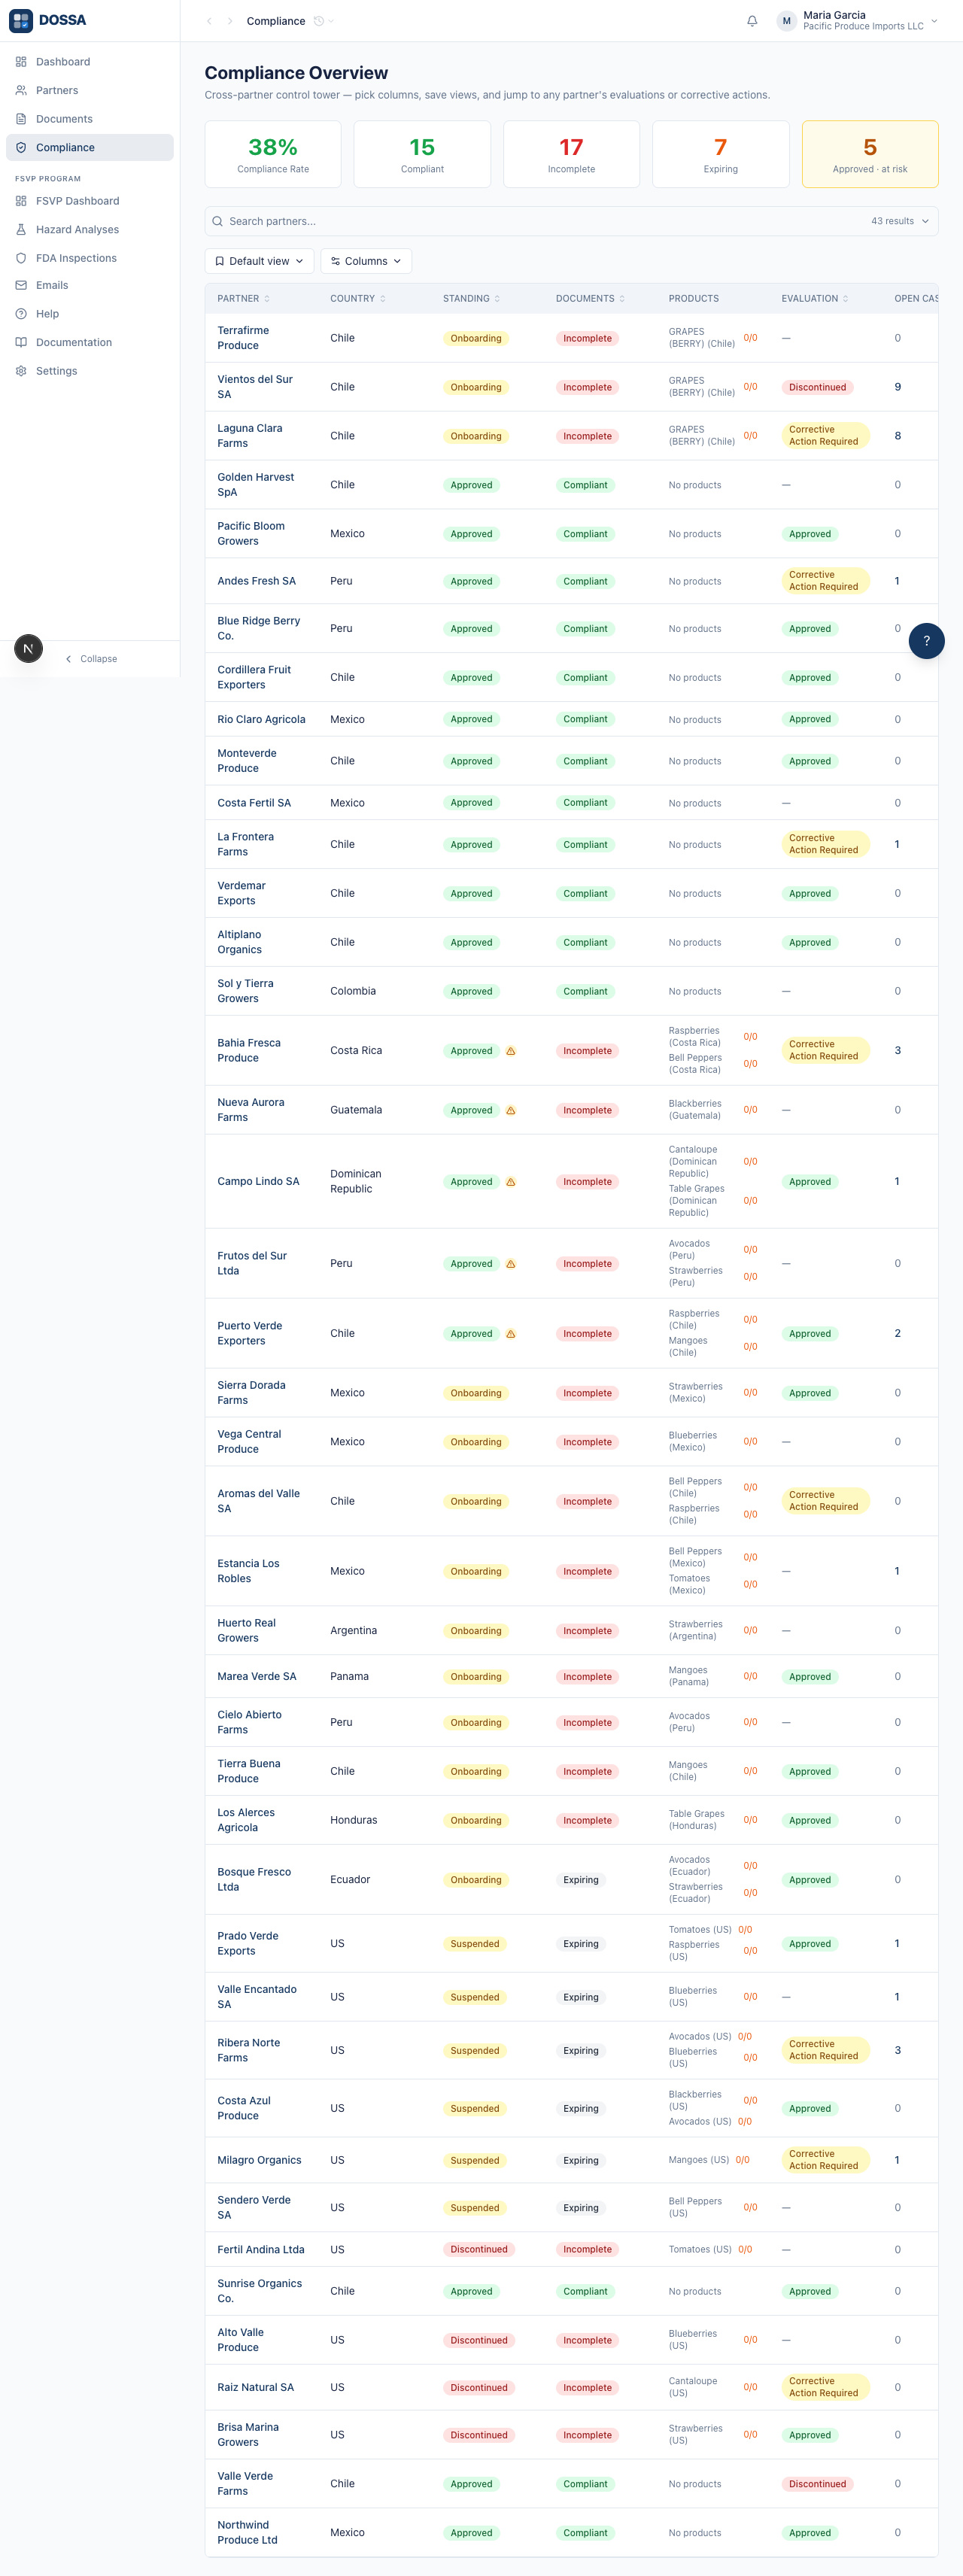
What you should see: The Compliance Overview shows a summary strip (compliance rate, compliant, incomplete, expiring, and approved-but-at-risk) above a grid of every partner. Each row shows the partner, its Standing (the lifecycle decision), its Documents compliance, and — when FSVP is entitled — its Evaluation and open corrective actions. Every cell links into that partner’s relevant tab.
Choose which columns to show
Section titled “Choose which columns to show”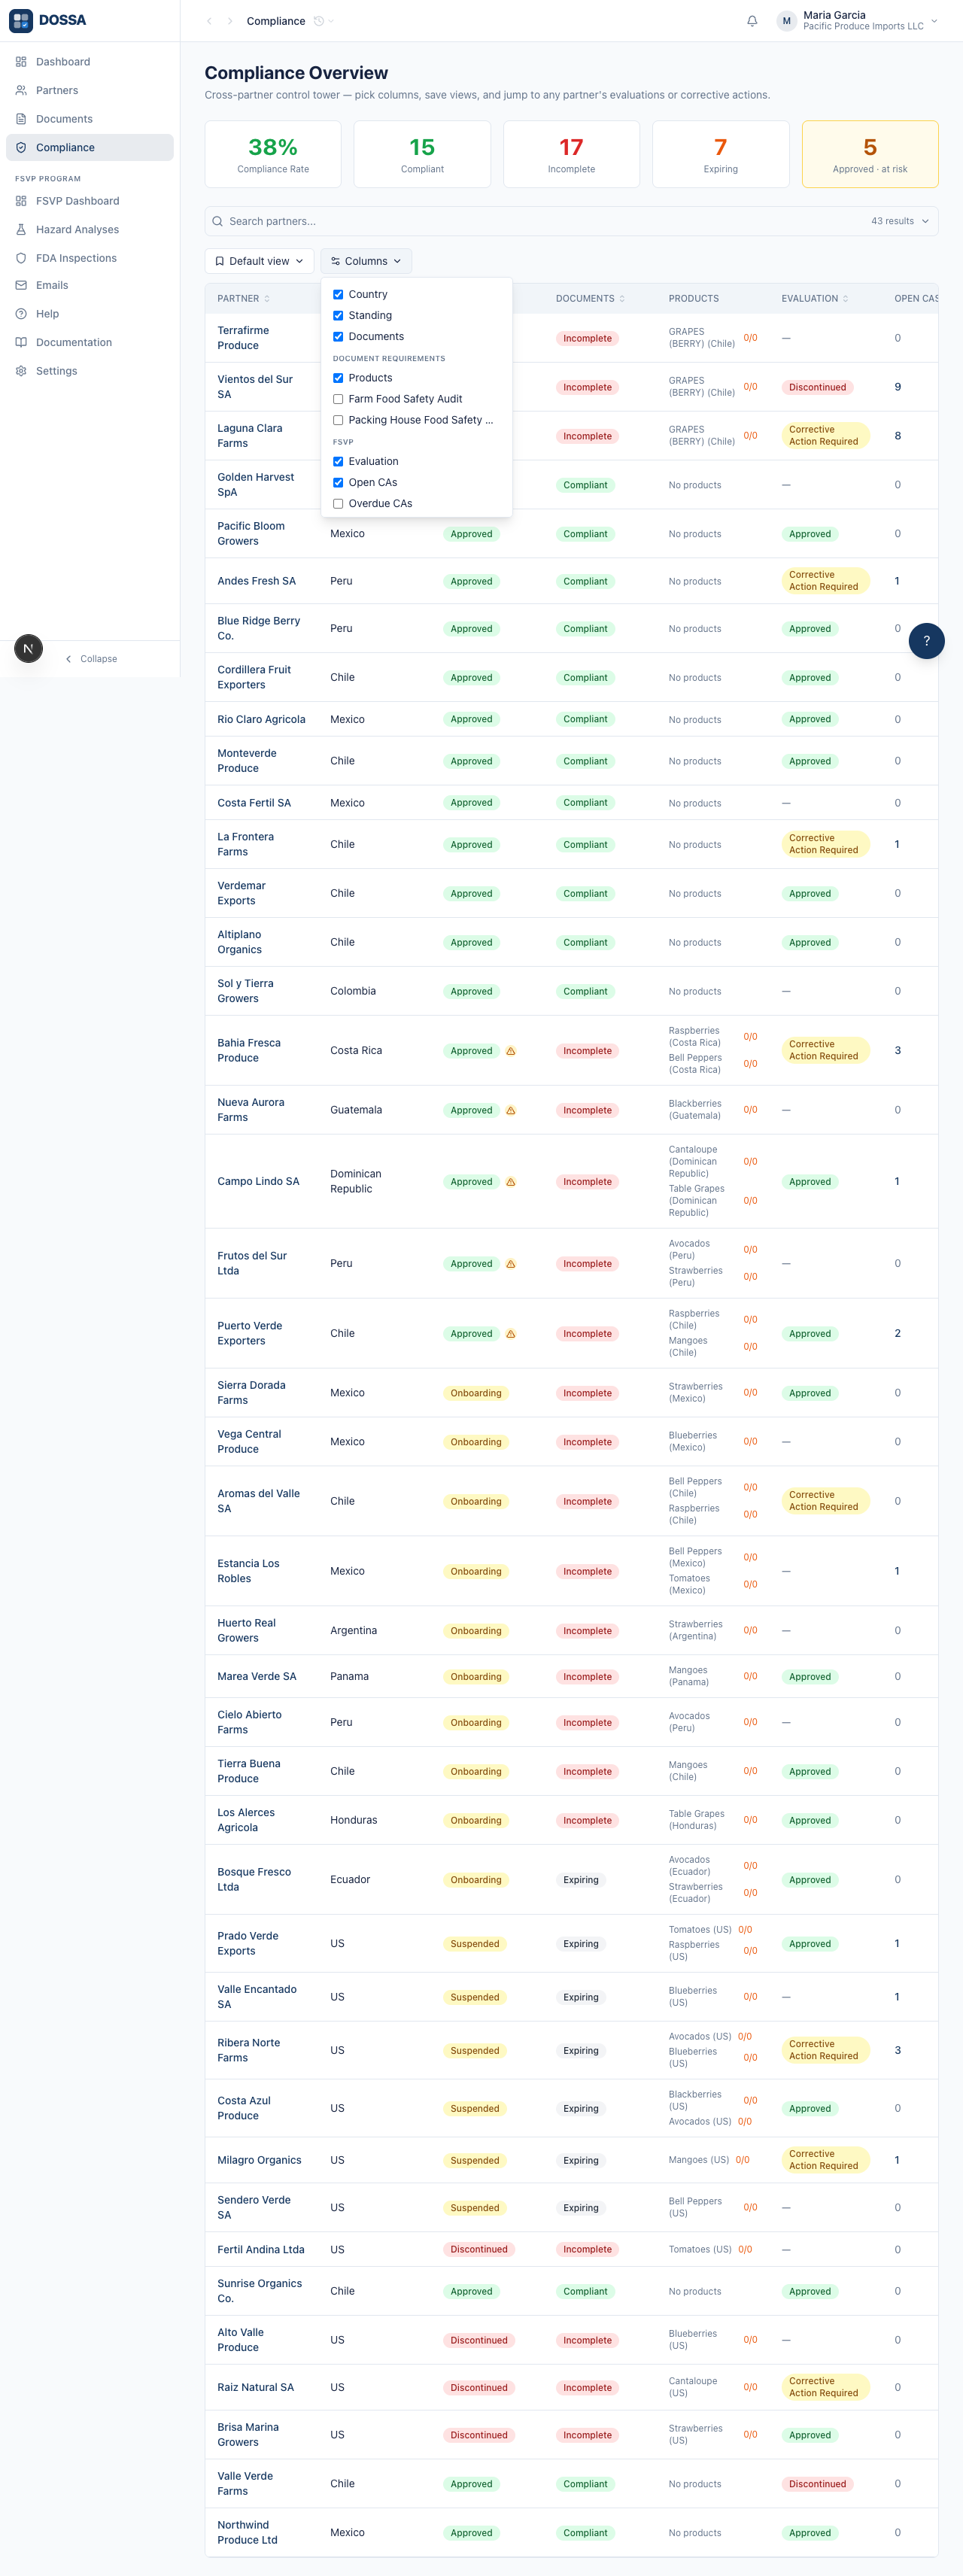
What you should see: The Columns menu groups the choices — the core columns, a “Document Requirements” group (including one opt-in column per requirement, off by default), and, for FSVP orgs, an “FSVP” group (Evaluation, Open CAs, Overdue CAs, Next re-evaluation). Toggle any on or off; you can also drag to reorder and drag a column edge to resize.
Filter and group by any track
Section titled “Filter and group by any track”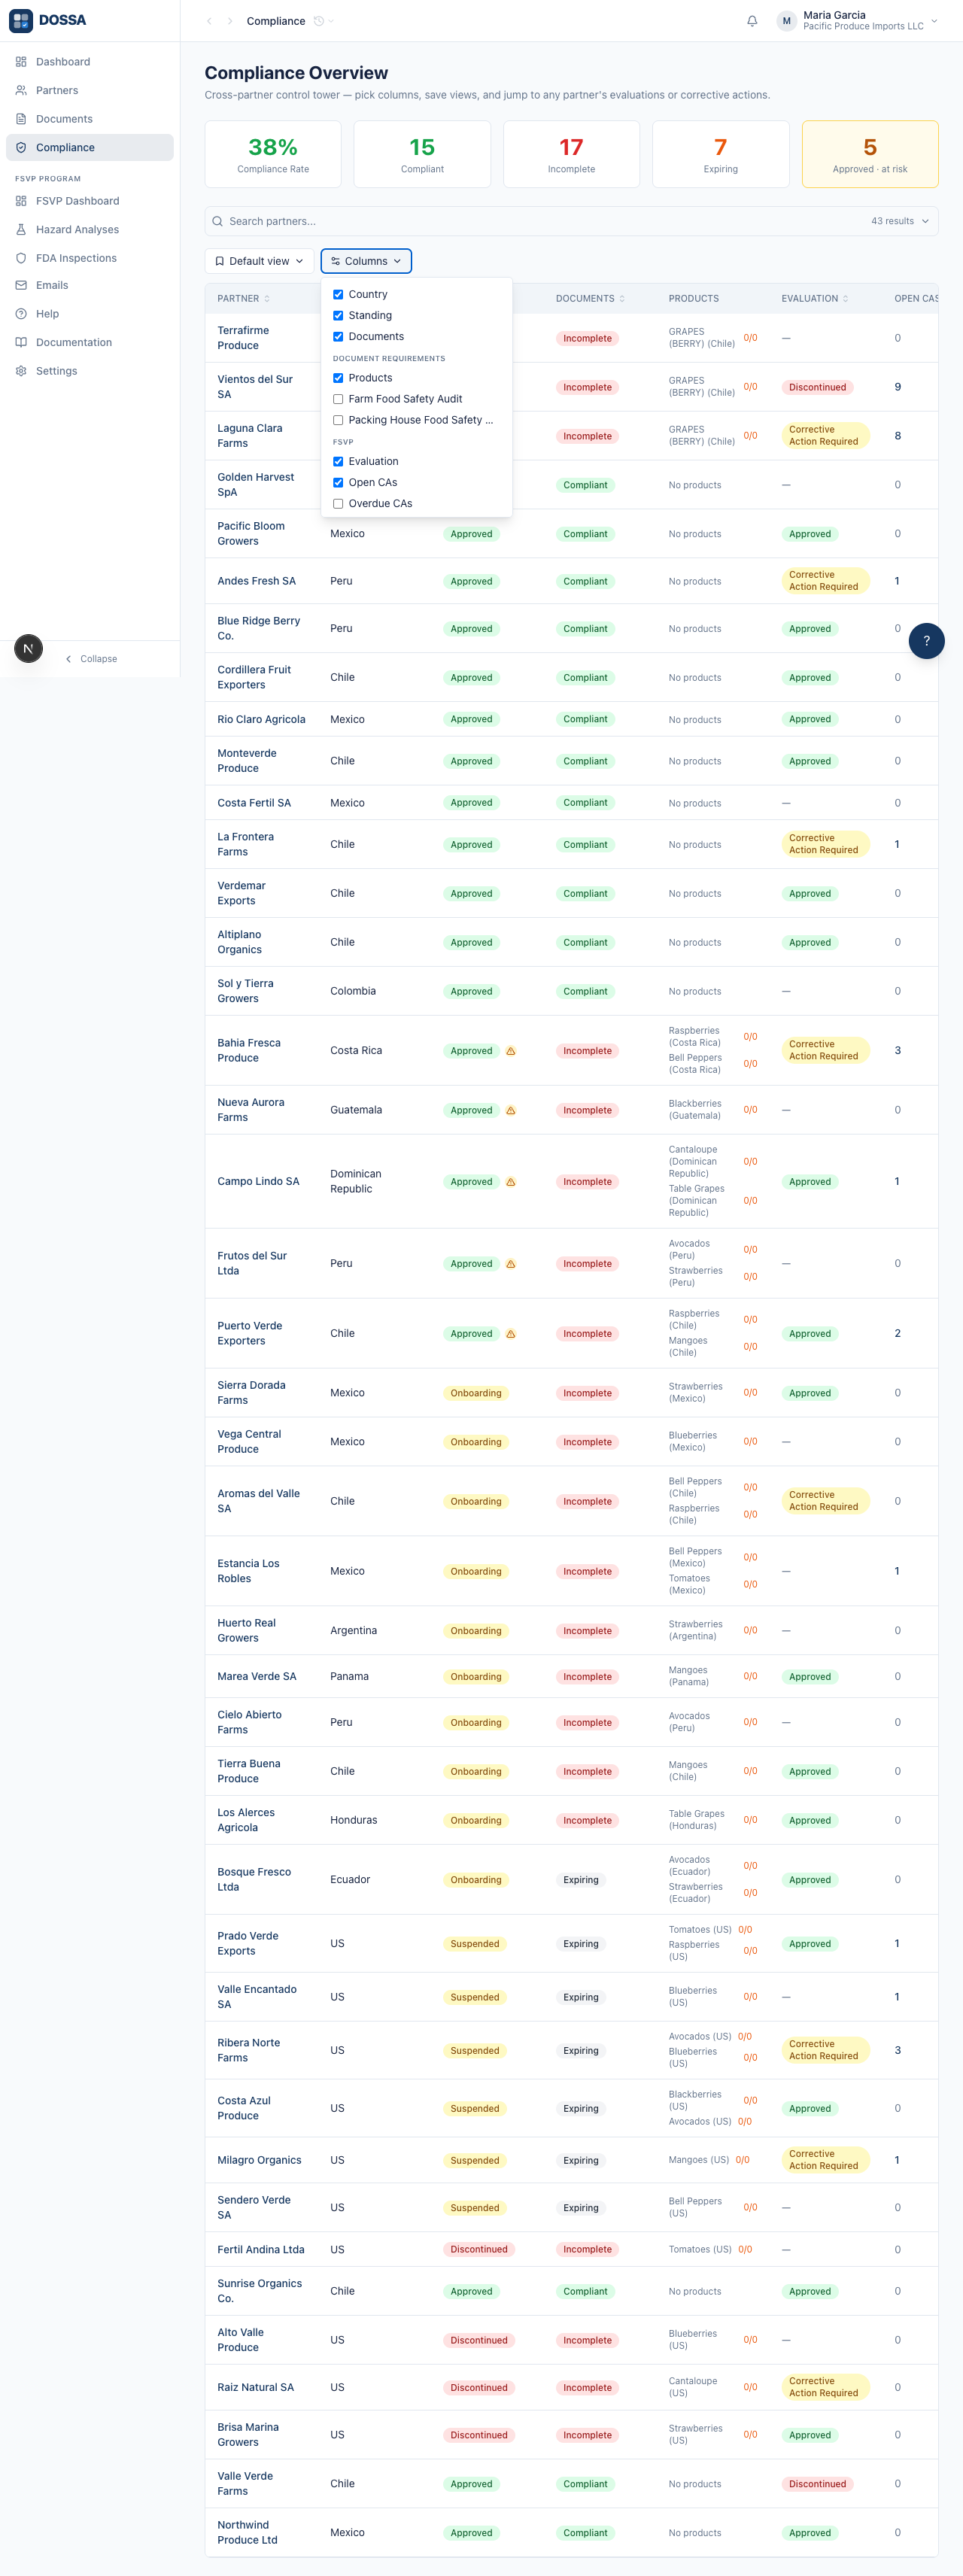
What you should see: The Filters are grouped by track — Standing (Onboarding / Approved / Suspended / Discontinued), Documents (Compliant / Incomplete / Expiring), and, for FSVP orgs, FSVP (Approved / CA Required / Has open CAs). Group By offers Standing, Documents, Country, and Evaluation. The filters and grouping always match the columns, because both come from the same column definitions.
Turn on a per-requirement column (requirements as columns)
Section titled “Turn on a per-requirement column (requirements as columns)”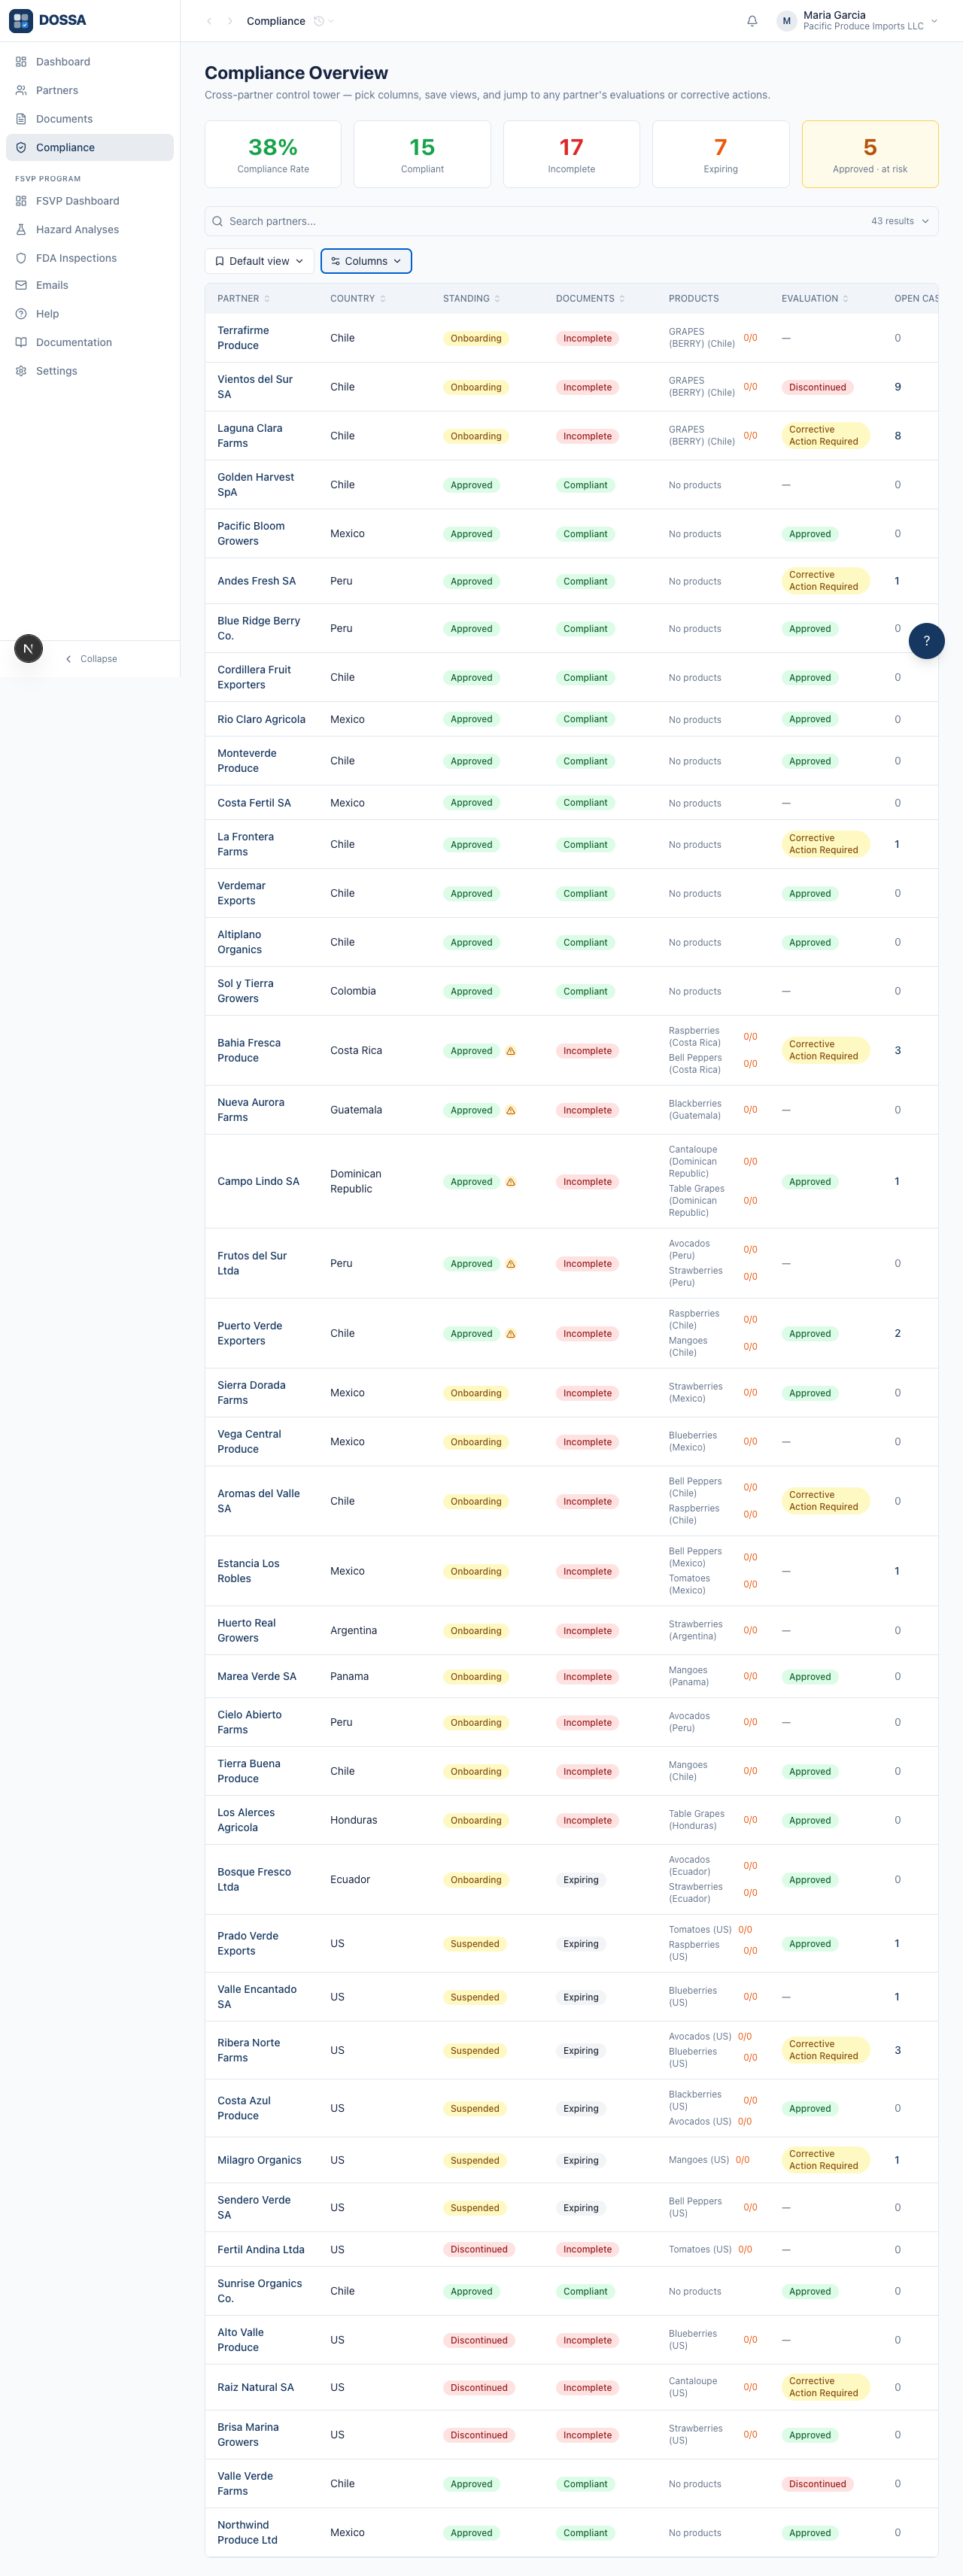
What you should see: Enabling a requirement adds a column showing every partner’s status for that specific document (Compliant / Missing / Expiring), turning the grid into a matrix of partners × requirements — the fastest way to see who is missing what across the whole book. Each cell links to that partner’s Requirements tab.
Save a view for later
Section titled “Save a view for later”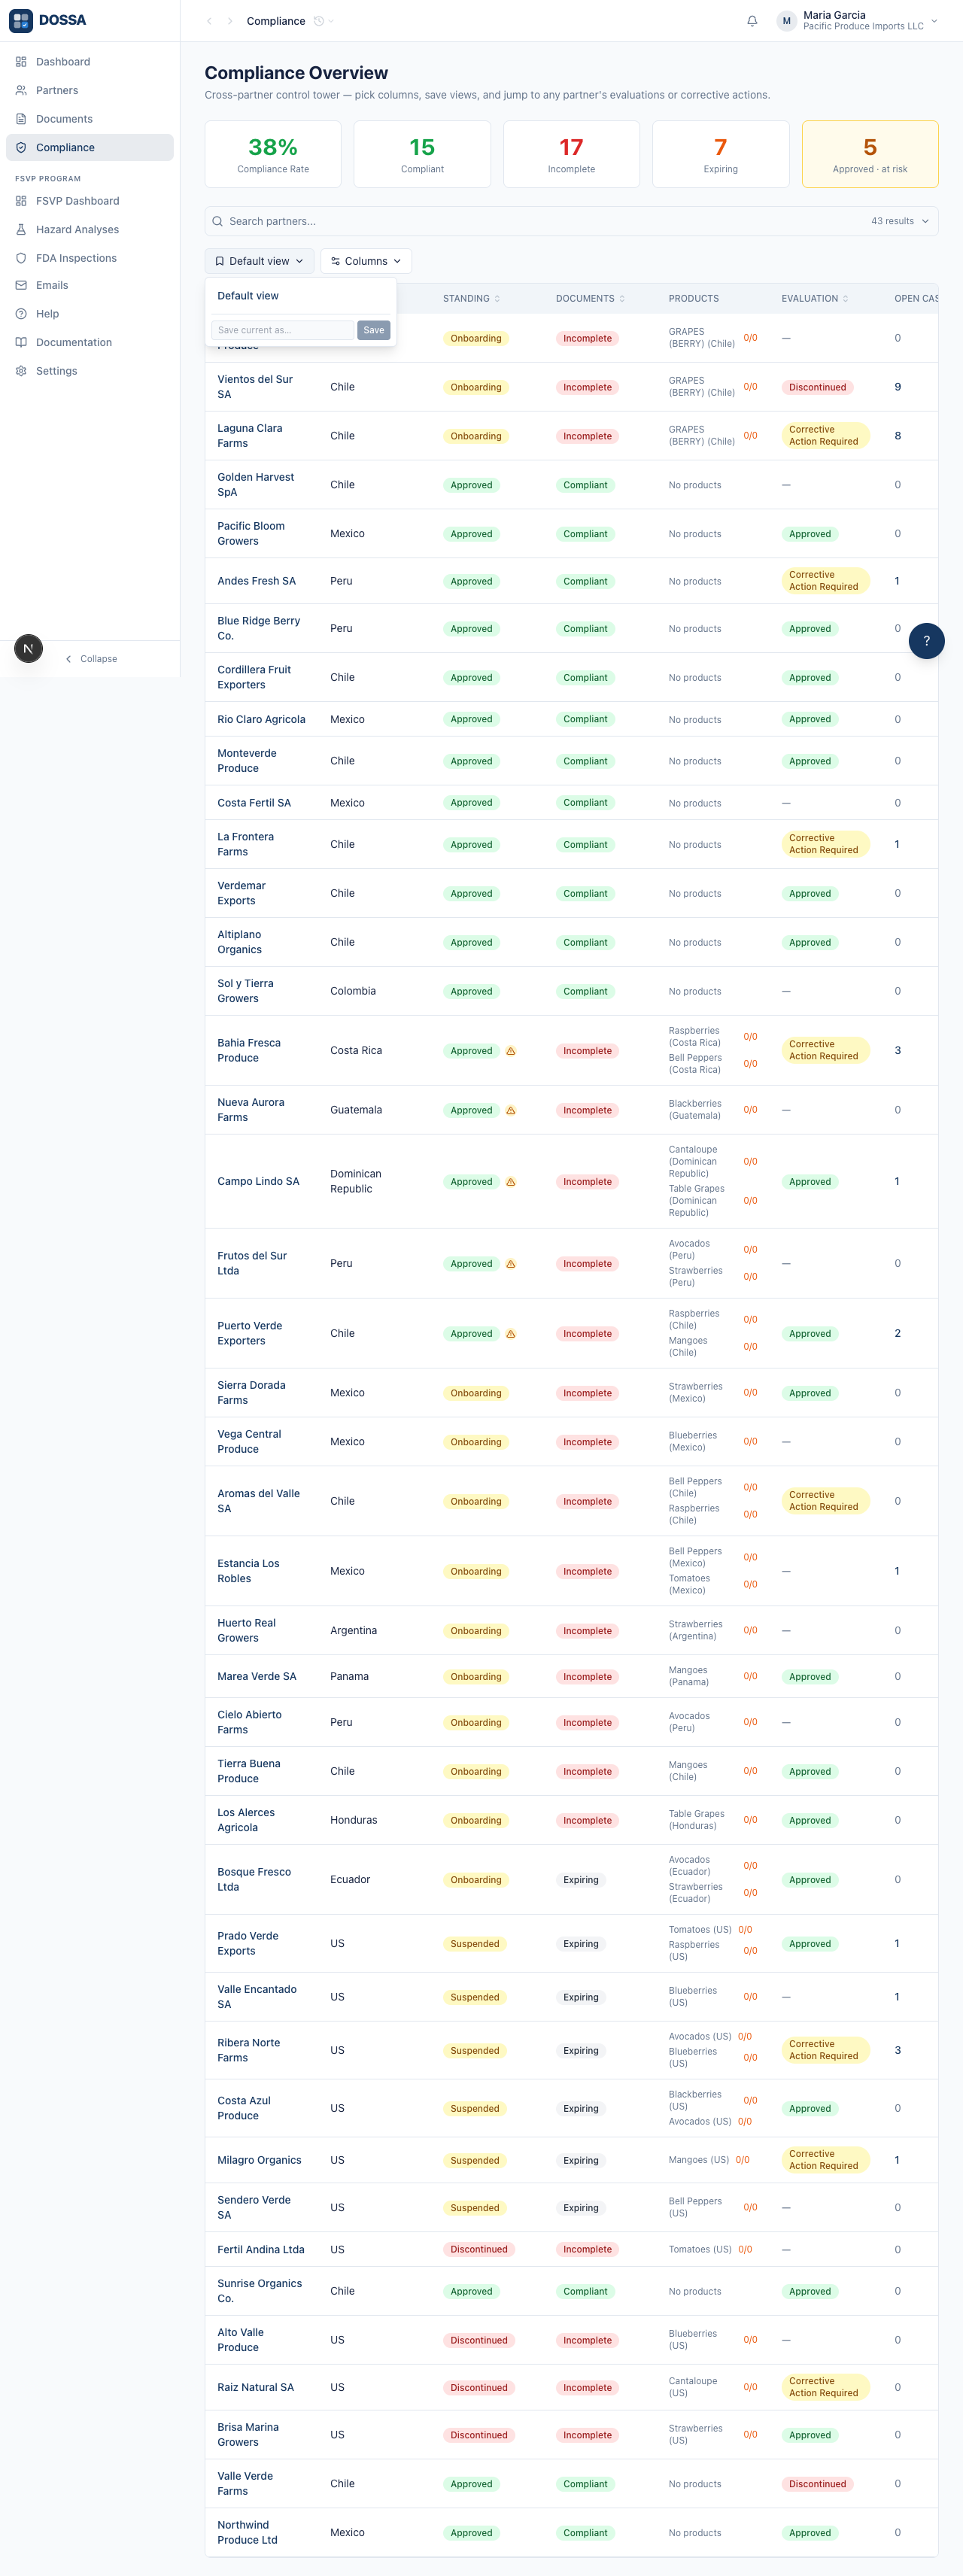
What you should see: The Views menu lets you save the current column layout, sort, and filters as a named view (for example “FSVP triage” or “Expiring this month”), set a default, and switch between views. Views are saved per user and follow you across devices — the same saved-view capability every grid in the app shares.
Jump into a partner to act on a gap
Section titled “Jump into a partner to act on a gap”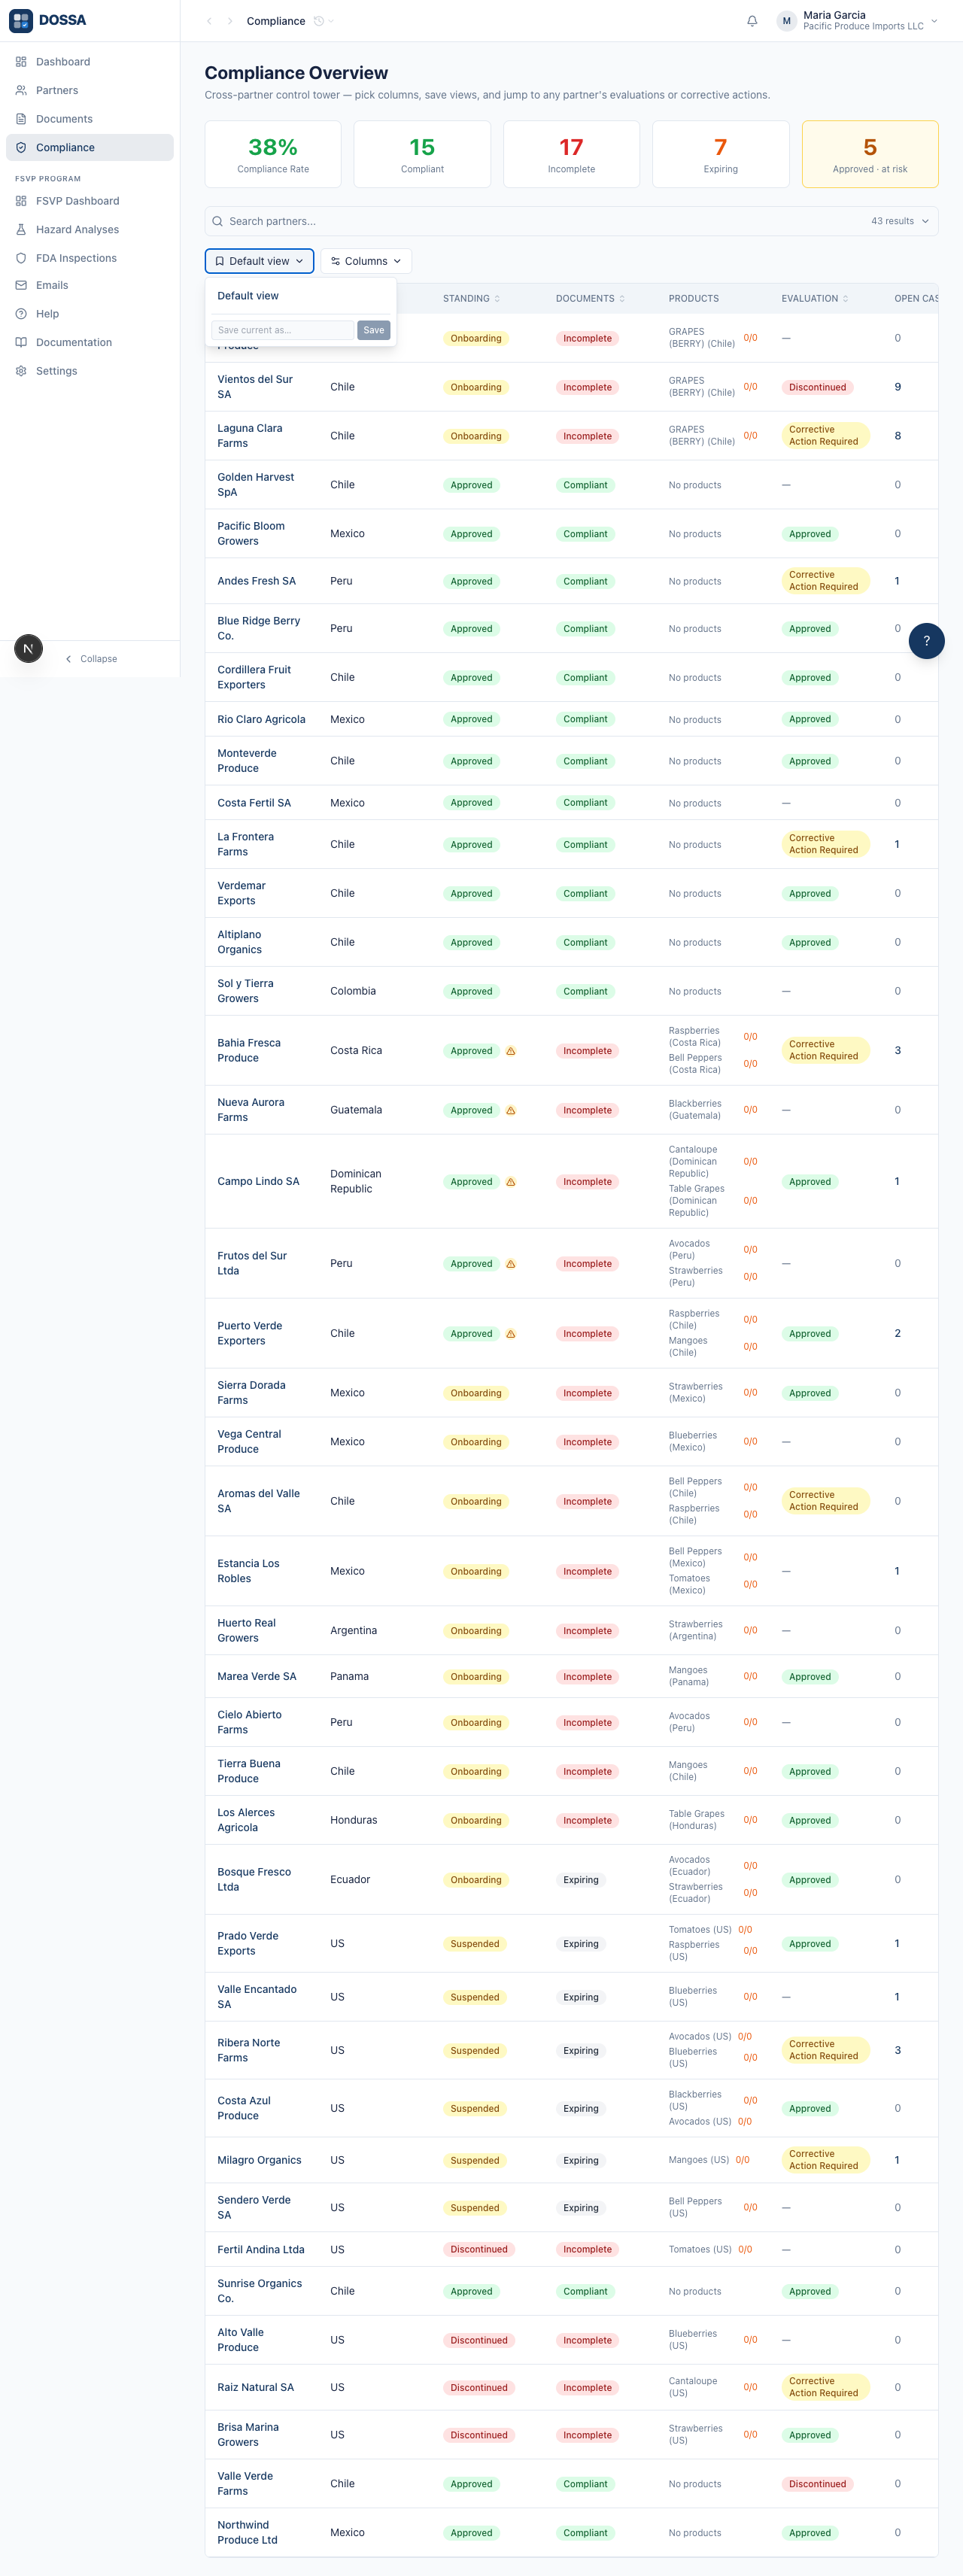
What you should see: Clicking a partner opens its detail page, where you can request missing documents, work its corrective actions, run an FSVP evaluation, or change its standing. The Compliance grid is the map; the partner page is where you act — see the Partner Lifecycle, Document Management, and Corrective Actions guides for each action.